
WordPress core comes with a command-line interface (CLI) called WP-CLI. This interface provides commands that allow developers to access and automate various aspects of WordPress from the command line. The benefits of the command line are that it can run and process on a server more efficiently, and can be scripted. However, there are cases where the core commands provided may not be sufficient, or developers may want to accomplish specific tasks. In such cases, WP-CLI enables developers to extend and write custom commands.
We have used this feature extensively in various client projects, where bulk operations are required for various business operations. For example, we have used WP-CLI for bulk processing on large post datasets, migrating data to specific formats, and processing large WooCommerce orders, among other things. The command line is fun for power users, and writing custom commands makes it even more interesting.
In this article, we will explore how some of the core APIs can help us build custom WP-CLI commands. By combining WordPress core and WP-CLI APIs with business logic, developers can create a lot of useful implementations.
Anatomy of a command
Before we start writing our custom command, let’s look at the various parts of it. These are as followswp <command> <subcommand> <argument> <--flags> let’s take a look at a command from core to compare.
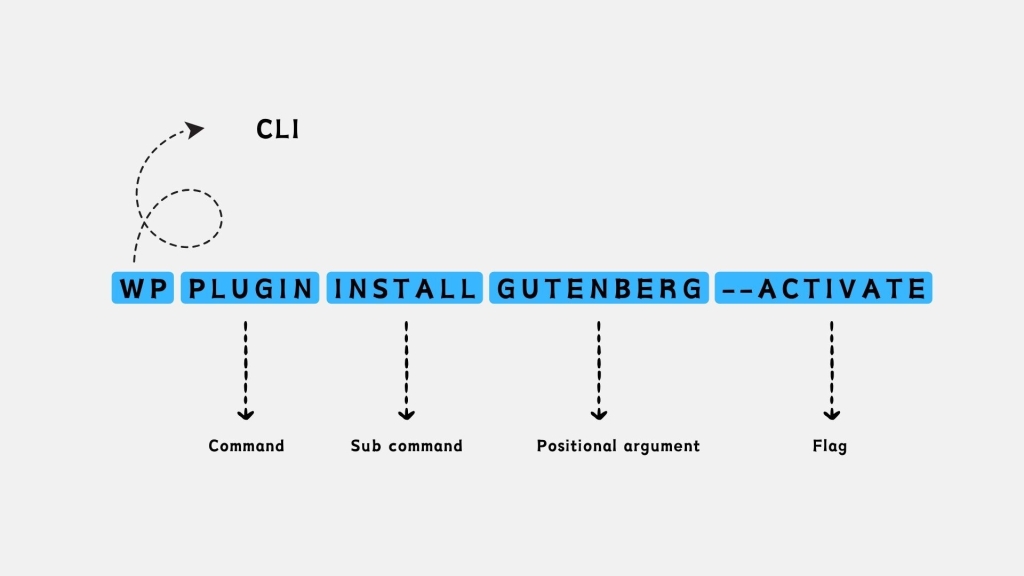
wp plugin install gutenberg [–version=<version>][–activate] We can map this to:
| Part | Description |
|---|---|
| command | plugin |
| subcommand | install |
| argument | gutenberg |
| flags | –version, –activate |
Now we know various parts of commands we will see how to handle each one of them as we progress.
Plugin setup
To create commands, you can use theme files, plugins, or reusable packages. In this case, we will set up a WordPress plugin to build commands with different parts and test them. To proceed, please make sure that you have set up a local WordPress and WP-CLI to run and test these commands.
In your WordPress setup go to wp-content/plugins and create a folder for your CLI plugin cal my-cli-commands add plugins file my-cli-commands add setup basic plugins using the following:
<?php
/*
Plugin Name: My CLI Commands
Plugin URI: https://youtsite.com/
Description: Learning the basics of WP-CLI
Author: Your Name
Version: 1.0.0
Author URI: https://yoursite.com/
*/
Code language: HTML, XML (xml)
Activate plugins so we are ready to write commands.
Writing a basic command
Use cli_init hook to prevent “Fatal error: Uncaught Error: Class WP_CLI not found” message.
add_action( 'cli_init', function() {
    // Your command
});
Code language: PHP (php)
Let’s add a simple command to echo “Welcome to WP-CLI”
add_action( 'cli_init', function() {
    WP_CLI::add_command( 'cli-welcome', function( $args ) {
      //Print a text line
      echo "Welcome To WP-CLI";
    } );
} );
Code language: PHP (php)
Run command
wp cli-welcome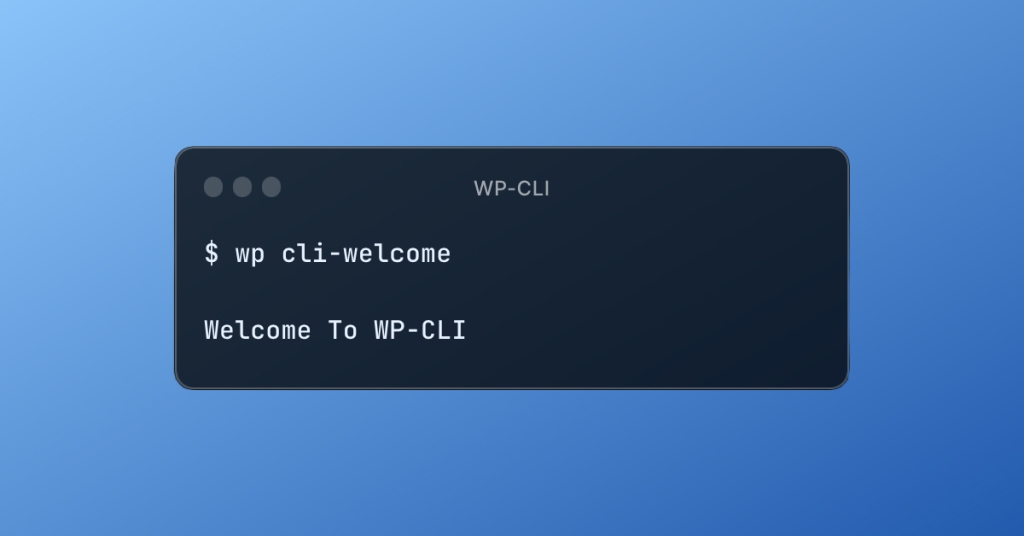
Above we are using php closure or anonymous functions to register our command. We can all use a named function here. This is the simplest way to register your custom command. We are free to use any WordPress core API or PHP logic to power out custom commands.
Class based command
We can write the above command using the class as follows –
class Cli_Welcome {
   public function __invoke( $args ) {
      WP_CLI::log( 'Hello world, how is it going?' );
   }
}

add_action( 'cli_init', function() {
    WP_CLI::add_command( 'cli-welcome', 'Cli_Welcome' );
} );
Code language: PHP (php)
Above we are using the __invoke() method to do something when the initial command is being run. Writing custom class using is something we will see more along with reasons why.
Once registered we can run the command –
wp cli-welcome 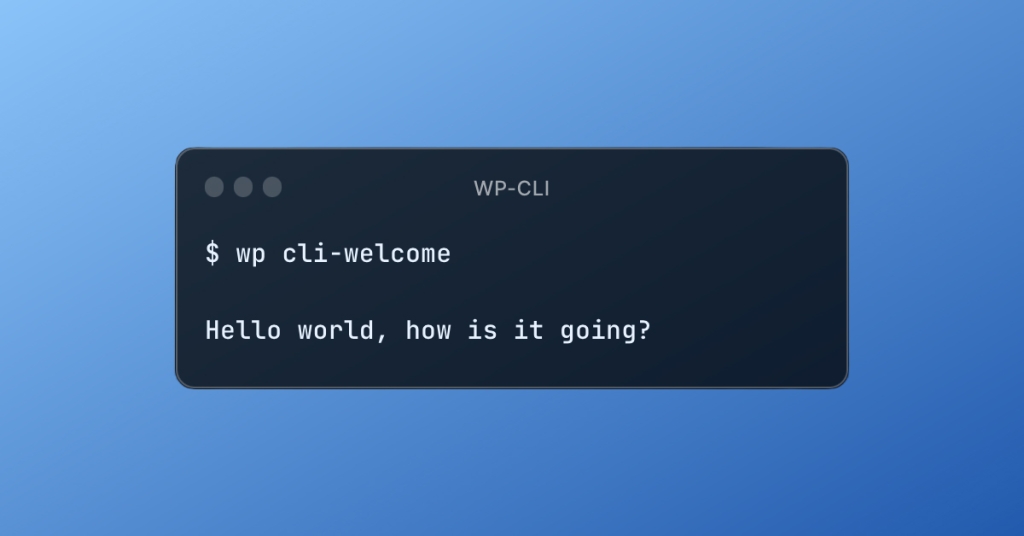
Subcommand
As we have seen commands can have subcommands, this is helpful when we want to group a set of functionalities. Classes make it easier to define and use subcommands. Any public method in the class is registered as a subcommand.
Let’s see an example of registering them –
class Cli_Welcome {
    public function morning() {
      echo "Good Morning from WP-CLI";
    }

    public function evening() {
      echo "Good evening from WP-CLI";
    }
}

add_action( 'cli_init', function() {
    WP_CLI::add_command( 'cli-welcome', 'Cli_Welcome' );
} );
Code language: PHP (php)
Above we registered 2 subcommands morning and evening on cli-welcome which can be called from CLI as follows:
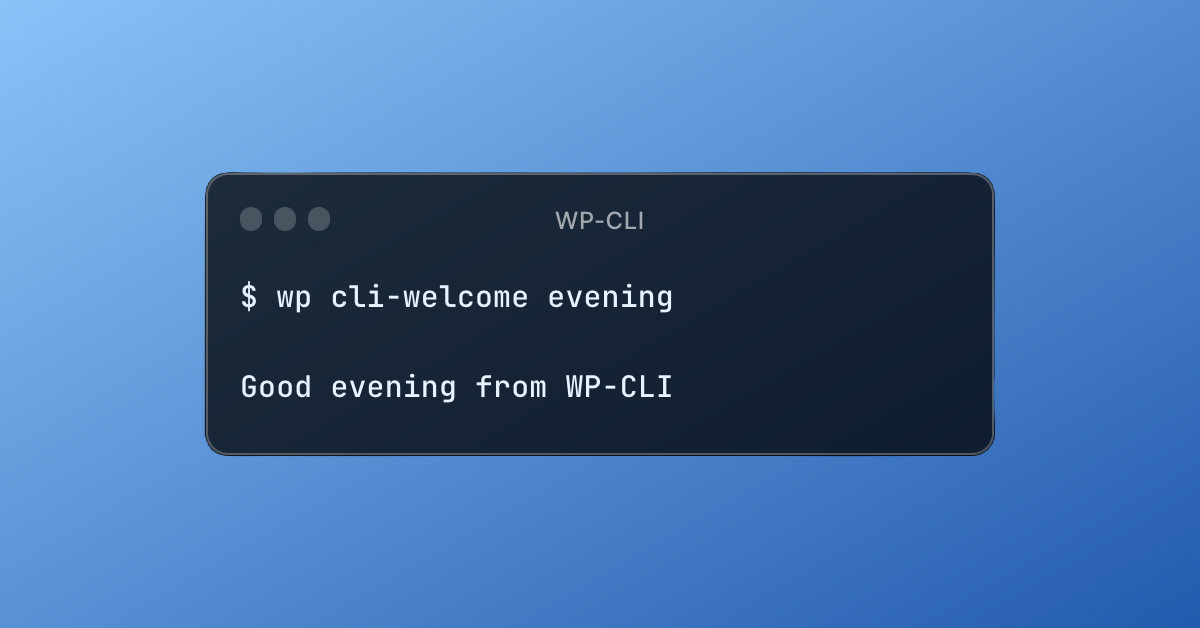
wp cli-welcome morning
wp cli-welcome evening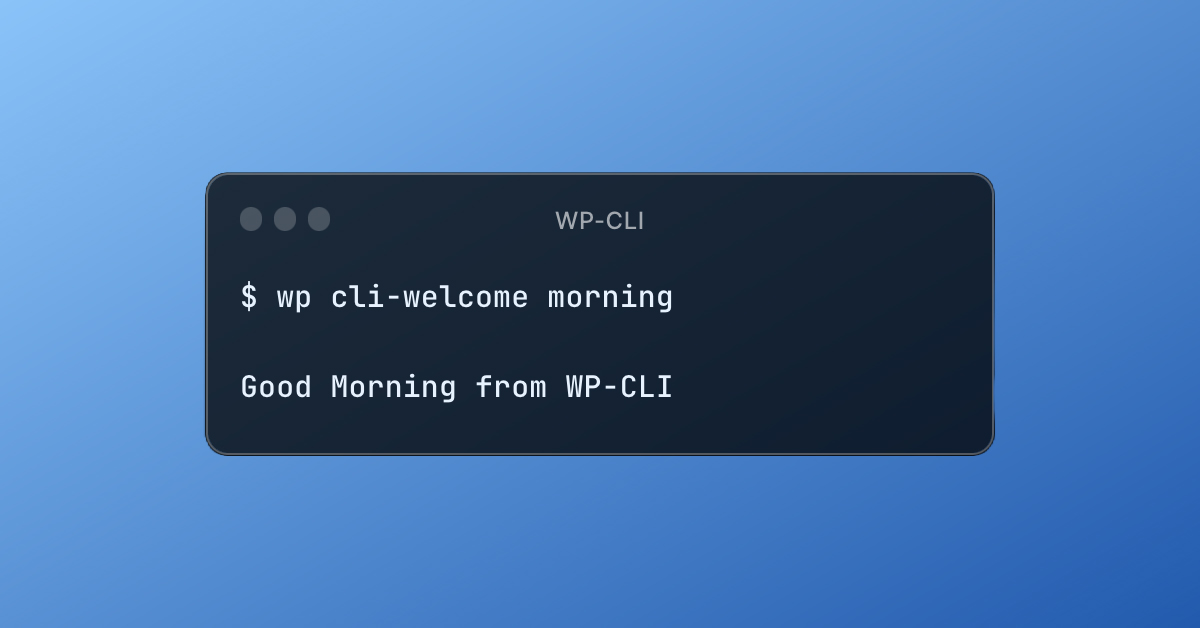
Helper methods
Above we saw how to register subcommands within the class by marking the method as public. Similarly if want a method to be used internally as a helper method we can declare it as protected.
class Cli_Welcome {
protected function get_smily() {
return "👋";
}
public function morning() {
echo "Good Morning from WP-CLI" . $this->get_smily();
}
public function evening() {
echo "Good evening from WP-CLI" . $this->get_smily();
}
}
add_action( 'cli_init', function() {
WP_CLI::add_command( 'cli-welcome', 'Cli_Welcome' );
} );
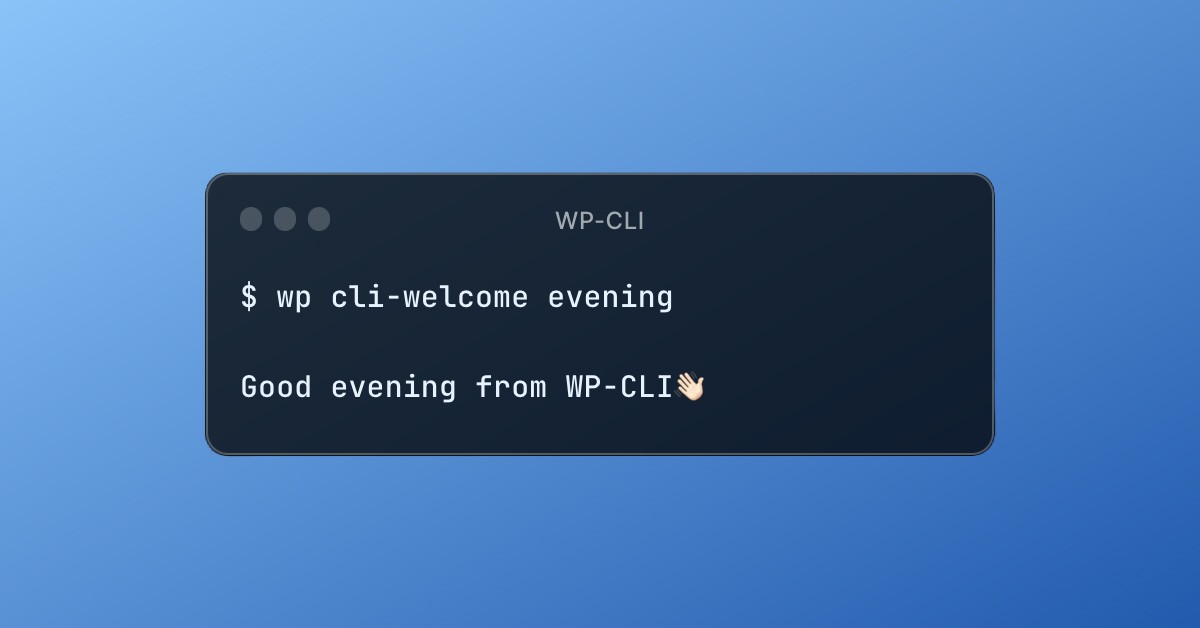
Code language: PHP (php)Once registered we can run the command –
wp cli-welcome morning
wp cli-welcome evening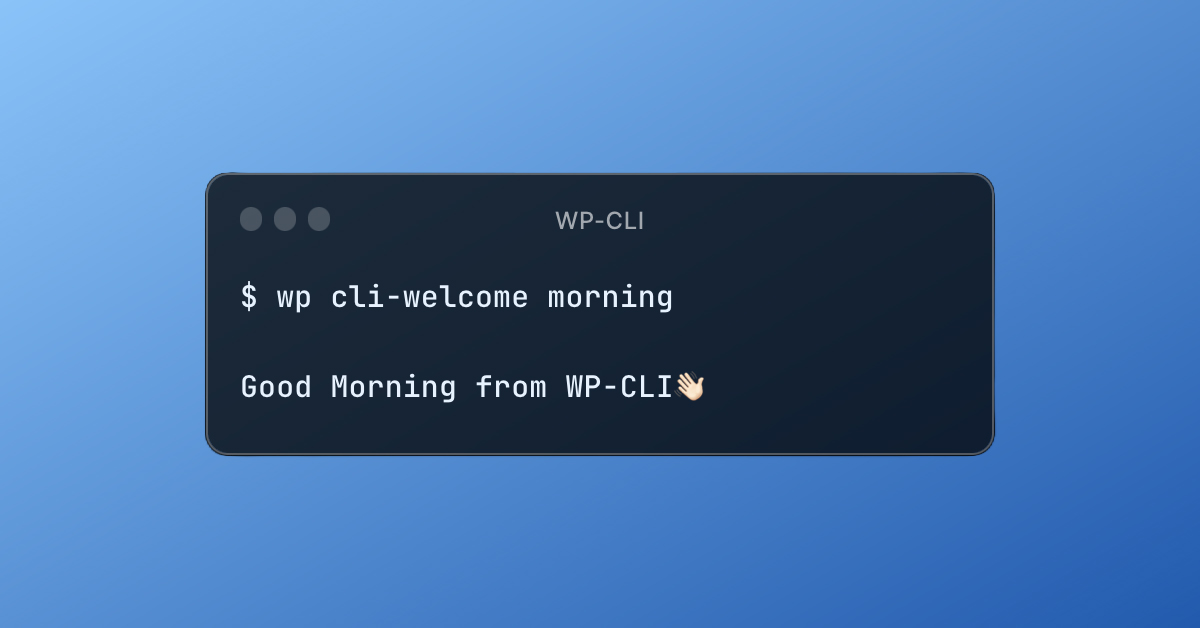
Positional Arguments
Positional arguments are parameters that we pass just after the command. For example, let’s take a look at the core command wp plugin install gutenberg here we are passing gutenberg as a positional argument to install command. Let’s pass [name] as a positional argument to welcome cli. WP-CLI passes positional arguments to a callable handler which is an iterator or array.
The example below $args will provide access to positional arguments.
class Cli_Welcome {
    protected function get_smily() {
      return "👋";
    }

    public function morning($args) {
      echo "Good Morning from WP-CLI ". $this->get_smily() . '-'. $args[0];
    }

    public function evening($args) {
      echo "Good evening from WP-CLI ". $this->get_smily() . '-'. $args[0];
    }
}

add_action( 'cli_init', function() {
    WP_CLI::add_command( 'cli-welcome', 'Cli_Welcome' );
} );
Code language: PHP (php)
The above argument can be passed to commands as –
wp cli-welcome morning matt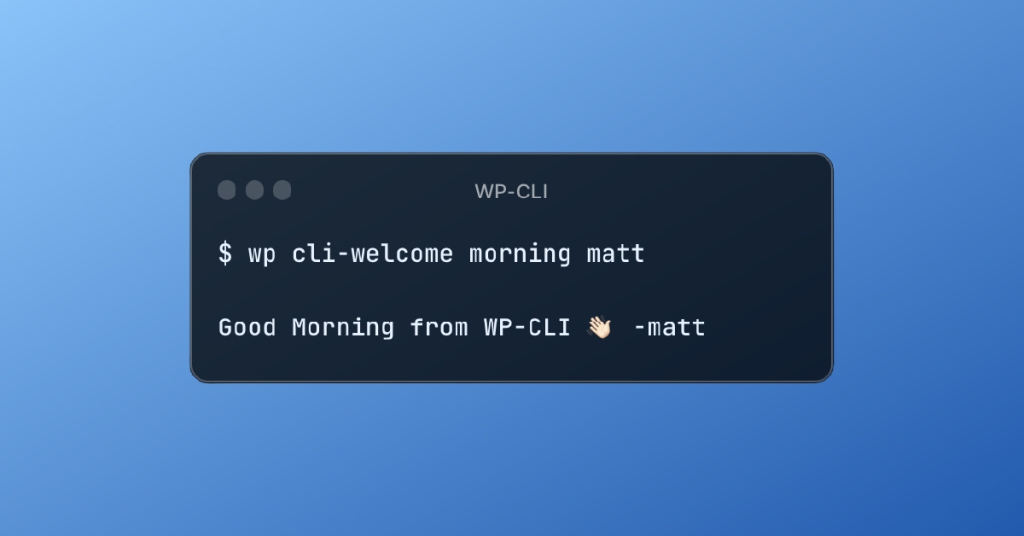
Flags
Flags also known as associative arguments are passed to the command. Let’s look out core command with a flag in use.wp plugin install gutenberg --activate here we are passing a flag to install the plugin and also activate it. One or many flags can be passed and used as required by the CLI command.
Let’s update our example to use smiley passed as a flg
class Cli_Welcome {
    protected function get_smily($smily) {
      return $smily && "👋";
    }

    public function morning($args, $assoc_args) {
      echo "Good Morning from WP-CLI " . $this->get_smily($assoc_args['smily']) . '-'. $args[0];
    }

    public function evening($args, $assoc_args) {
      echo "Good evening from WP-CLI " . $this->get_smily($assoc_args['smily']) . '-'. $args[0];
    }
}

add_action( 'cli_init', function() {
    WP_CLI::add_command( 'cli-welcome', 'Cli_Welcome' );
} );
Code language: PHP (php)
WP-CLI passes flags to the callable handler which is an iterator or array. In the example above $assoc_args will provide us access to various flags.
The above flags can be passed to commands as –
wp cli-welcome morning matt --smily=usethis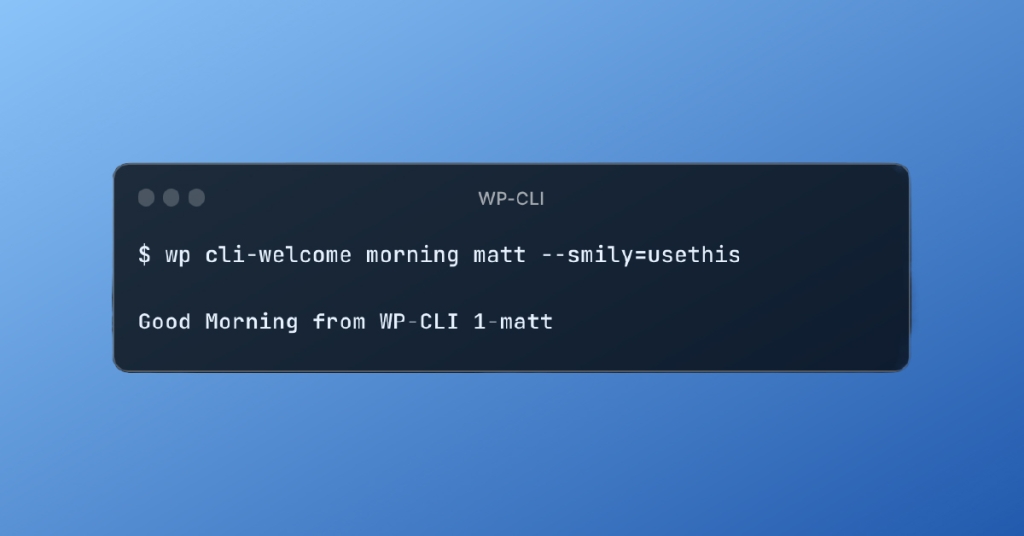
Display Functions
So far we have been using echo to output data on CLI. This is a common need and wp-cli provides internal APIs to achieve this.
A list of functions that can help in a better cli experience are:
| Function | Description |
|---|---|
| WP_CLI::log() | Display informational message without prefix or discarded when –quiet argument is supplied |
| WP_CLI::line() | Display informational message without prefix and ignores –quiet argument |
| WP_CLI::warning() | Display warning message prefixed with “Warning: “ |
| WP_CLI::success() | Display success message prefixed with “Success: “ |
| WP_CLI::error() | Display error message prefixed with “Error: “, and exits script |
above functions can be used in the command
add_action( 'cli_init', function() {
    WP_CLI::add_command( 'cli-welcome', function( $args ) {
      WP_CLI::log('Welcome to WP-CLI');
      WP_CLI::line('Welcome to WP-CLI');
      WP_CLI::warning('Welcome to WP-CLI');
      WP_CLI::success('Welcome to WP-CLI');
      WP_CLI::error('Welcome to WP-CLI');
   } );
} );
Code language: PHP (php)
Run the command for output
wp cli-welcome
Progress bar
So far we have seen how to output and format display messages. But more advanced or complex functionality might need dynamically updating progress on CLI. Let’s say we want to loop through all the posts, perform some updates, and display the progress for the same to CLI.
Let’s see this as in the code –
add_action( 'cli_init', function() {
    WP_CLI::add_command( 'cli-welcome', function( $args ) {
        // Post Query
        $args = [
          'post_type' => ['post'],
           'posts_per_page' => 10,
        ];

        $query = new WP_Query($args);

        // Get the count of found posts to be used as progress count
        $total_posts = $query->found_posts;

        // Initialize progress bar.
      $progress = \WP_CLI\Utils\make_progress_bar( "Updating posts", $total_posts );

        if ($query->have_posts()) {

          // Posts found
          WP_CLI::line("$total_posts posts found");

           while ($query->have_posts()) {
             $query->the_post();

             $post_id = get_the_ID();
             $post_title = get_the_title();
             $post_content = get_the_content();

             WP_CLI::line( "Updating: [#$post_id] $post_title" );

            // [TODO] Action to perform on post

            // Advance the progress bar.
            $progress->tick();
          }
          wp_reset_postdata();
        } else {

        // No posts found
        WP_CLI::warning("No posts found!");
      }

     // Finish the progress bar.
     $progress->finish();
     WP_CLI::success("Posts Updated 🎉");
  } );
} );
Code language: PHP (php)
Run the command –
wp cli-welcome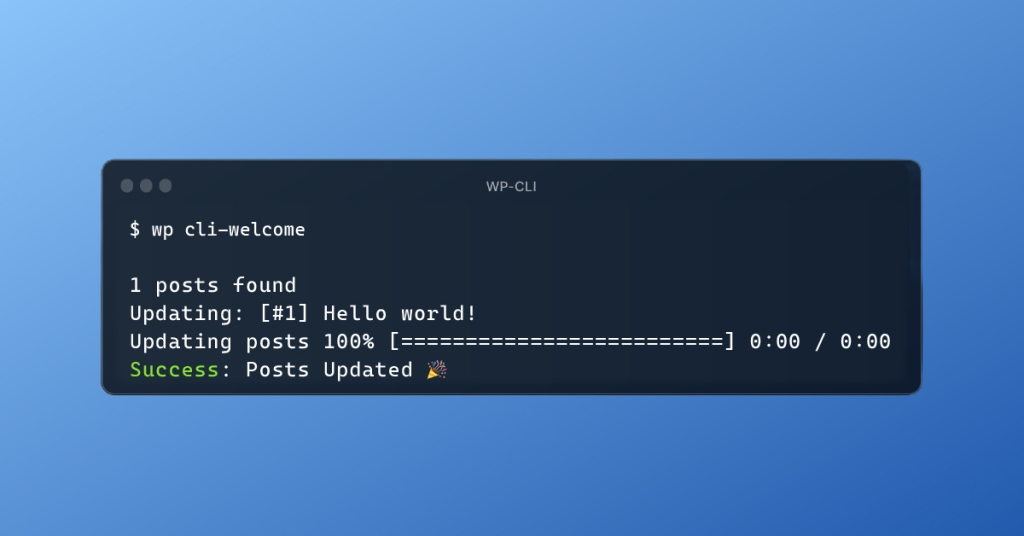
There are 3 key parts to this let’s look at each of them in the code above which powers the progress bar:
The progress bar is created by setting the name and total count:$progress = \WP_CLI\Utils\make_progress_bar( "Updating posts", $total_posts );
In the loop, we are using the progress instance and incrementing it after each iteration:$progress->tick();
Concluding the progress by calling finish on progress instance:$progress->finish();
By adding the above parts progress bar can be integrated into any command that processes large or time-consuming operations.
Doc block for documentation & annotation
When running core commands, we see that we get help documentation to know more about the command. We can similarly add help to custom commands by using phpdoc comments. This also helps in registering arguments and their behavior.
Let’s add docblock to our example for help and argument documentation:
class Cli_Welcome {
    protected function get_smily($smily) {
      return $smily && "👋";
    }

    /**
    * Prints a morning greetings.
    *
    * ## OPTIONS
    *
    * <name>
    * : The name of the person to greet.
    *
    * [--smily=<type>]
    * : Whether or not to greet the person with custom smily.
    * ---
    * default: 👋
    * options:
    * - 🌞
    * - 🌕
    * ---
    *
    * ## EXAMPLES
    *
    * wp cli-welcome morning matt --smily=🌞
    *
    * @when after_wp_load
    */
    public function morning($args, $assoc_args) {
      WP-CLI::log("Good Morning from WP-CLI " . $this->get_smily($assoc_args['smily']) . '-' . $args[0]);
    }
}

add_action( 'cli_init', function() {
    WP_CLI::add_command( 'cli-welcome', 'Cli_Welcome' );
} );
Code language: PHP (php)
Run the command
wp cli-welcome morning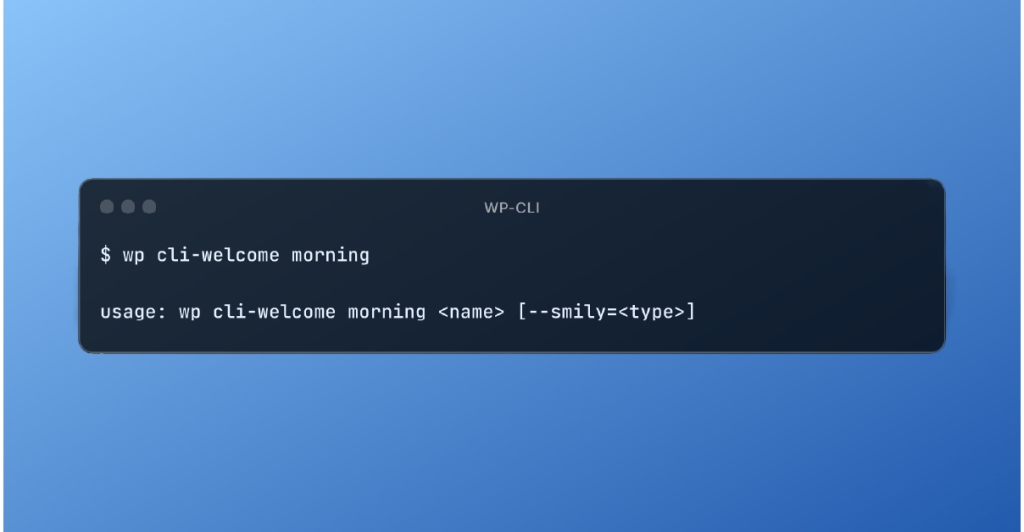
Note: Argument can be configured by setting the option on `WP_CLI::add_command` check docs for further details.
Let’s look at each part of the doc block: (TODO: Add Graphic explaining various parts)
Resources
If you are interested in continuing your learning and exploration, here are some resources you may find helpful:
👋 Want to automate your processes and build a CLI tool catering to your needs? Let’s talk.
Related Post
Rolling Names: Migration from Visual Composer to WordPress Block Editor

LUBUS Highlights January 2025
Introducing BlaBlaBlocks Slider Block
